


How to add an Authenticator to your computer using your Chrome web browser for multi-factor authentication:
This guide outlines the steps to set up multi-factor authentication using your Chrome web browser. It’s a useful option when an MFA‑capable mobile device is unavailable. To utilize this method of MFA you will need to use the Google Chrome web browser and must have the ability to add 3rd party Chrome extensions.
Step 1: Using Google Chrome, click the link provided below. Then click on the Add to Chrome Button.
Authenticator - Chrome Web Store

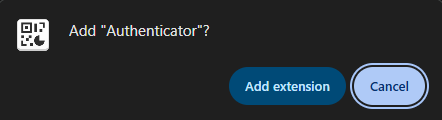
Figure 1 A message should appear that asks, Add “Authenticator”. Click Add Extension.
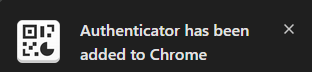
Figure 2 The following message should appear, if the extension was added correctly
Step 2: Head to rcbc.edu, and click on BaronOne located toward the top right of the web page.

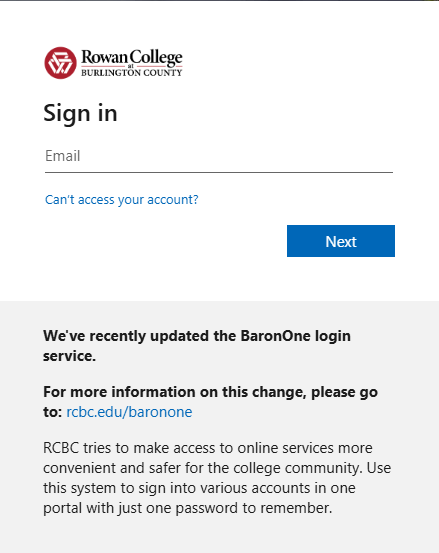
Step 3: Sign into your BaronOne account. Your username will be your student email, and your
password will be either one you created or a default password that was emailed to you.
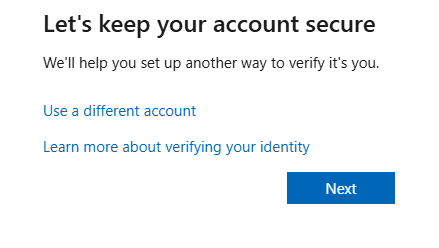
Step 4: When you reach the screen that says ‘Let’s keep your account secure’ click next to
set up multi-factor authentication.
Step 5: You will now be prompted to set up a multi-factor authentication (MFA) method.
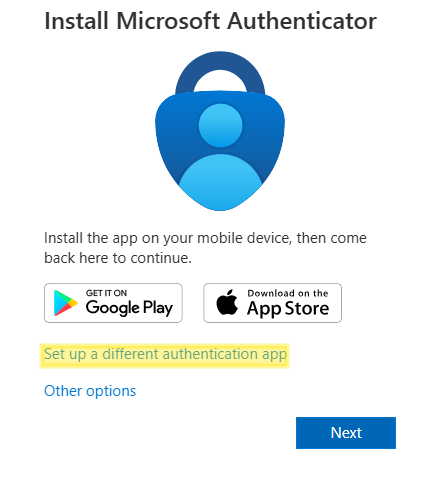
Because you will be using a laptop as your MFA device, click on ‘Set up a different
authentication app’.
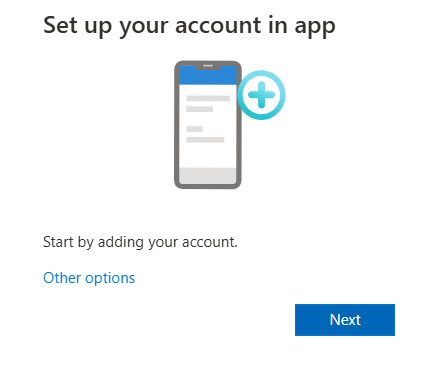
Step 6: The ‘Set up your account in app” screen should appear. Click next to continue setting up your MFA.
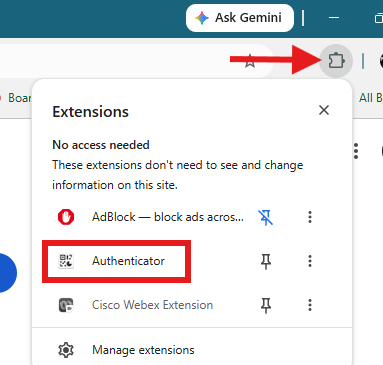
Step 7: A QR code should now be on the screen. Click on the puzzle piece icon toward the top right corner of your Chrome browser.
This will open your list of installed browser extensions. Click on the Authenticator extension.
After clicking on the extension, a new drop down will appear. Click on the barcode icon as highlighted in the image below.
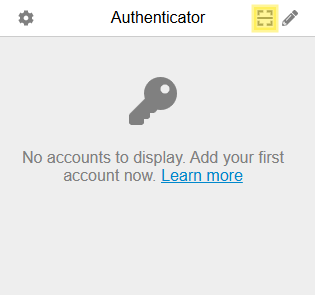
Step 8: Clicking on the barcode icon will cause an overlay to appear on the screen with the QR code on it. An animation will also play demonstrating how to scan the QR code on screen.
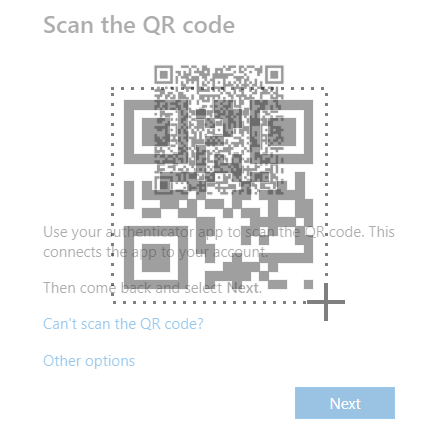
If done correctly the following message will appear at the top of the browser.
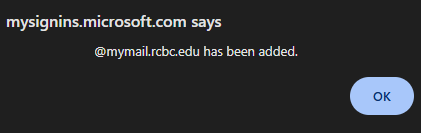
Click next on the ‘Scan the QR code” screen to proceed.
Step 9: You will be asked to enter a 6-digit code, using the authenticator we just added. To do this start by clicking on the puzzle piece as shown in the previous step. Then click on the authenticator also as shown in step 7.
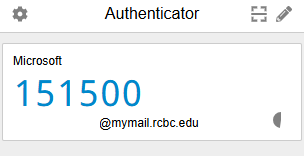
The above image is what you should see on your screen. You will take these six digits, and type them into the ‘Enter the code’ screen. Click Next after doing this, and one of two things will happen.
1. If this is your first time signing in, you will be asked to change your default password and create a new personal password for your account.
or
2. You will continue on to the BaronOne homepage where you will be able to access your email, blackboard, and other services.

