

 197
197
This article covers the Adobe Acrobat Pro upgrade process for approved users who have been granted a license of the Acrobat Pro software.
Setting up your Adobe Account:
Step 1: Check your RCBC Email for a message from Adobe inviting you to set up your account. The email will look like the image below:
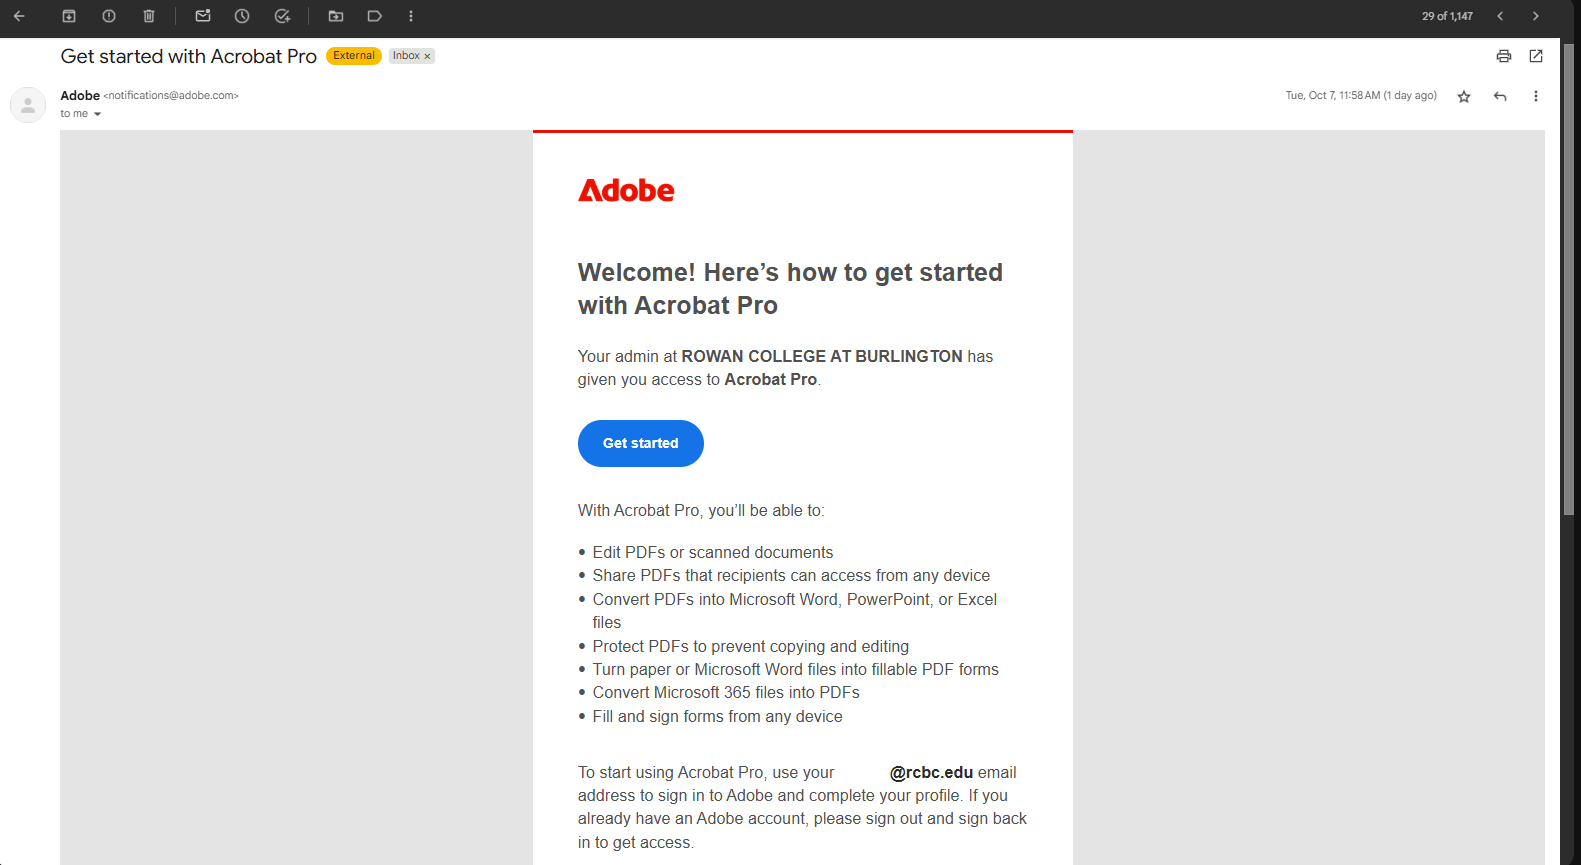
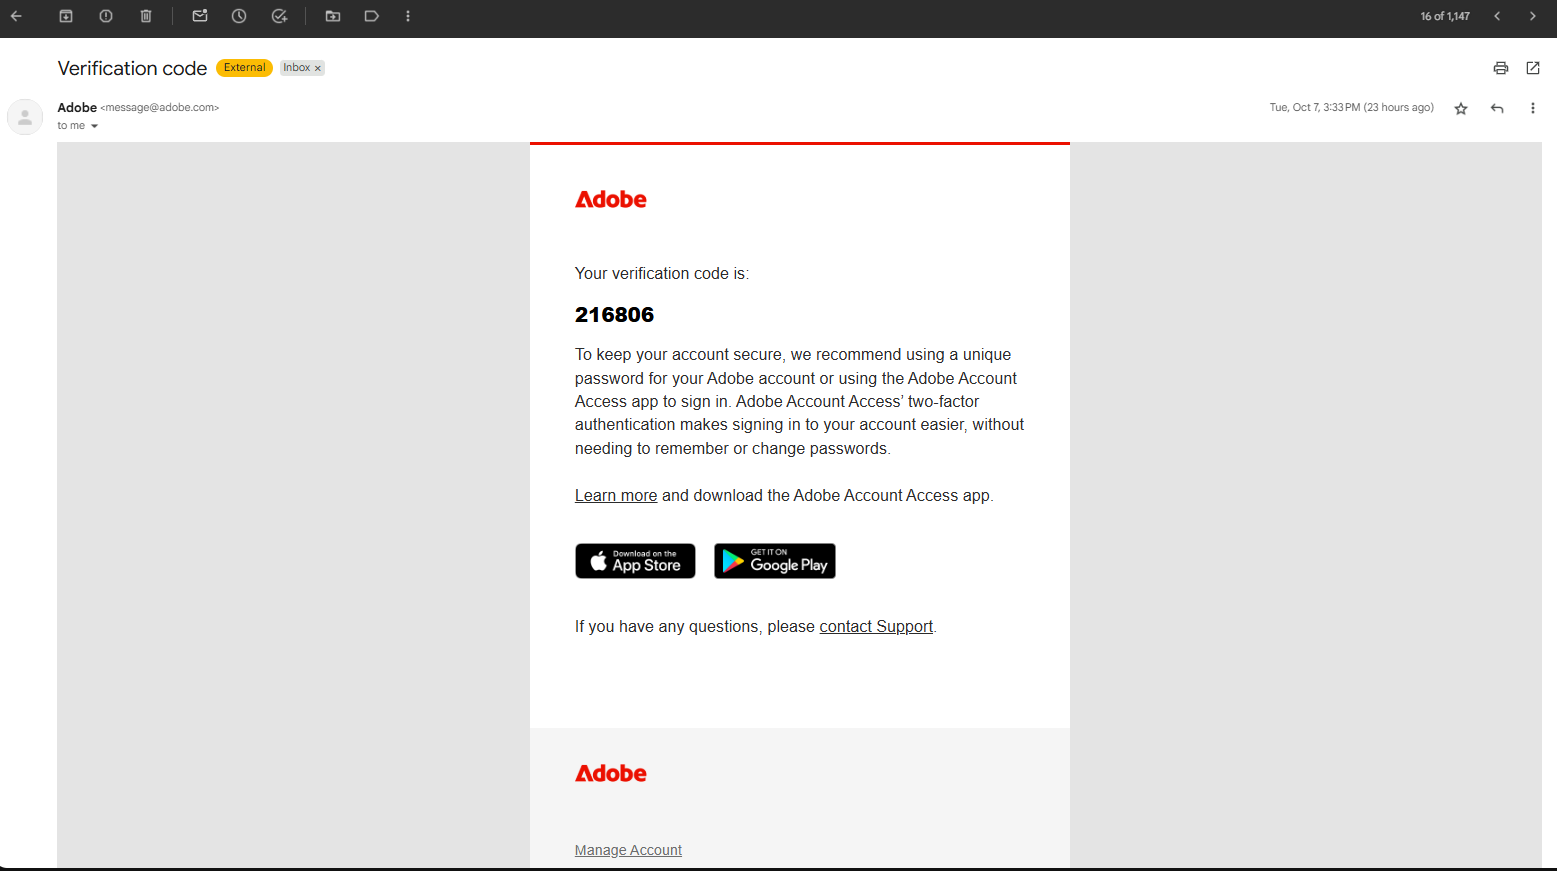
Step 2: Click on the Get Started button and begin to follow the prompts needed to complete your account set up. At one point during the set-up process you will be asked for a code that was emailed to you by Adobe. The email will look like the image below:
Step 3: Once you have fully completed the sign up process you will be taken to a screen that looks like this.
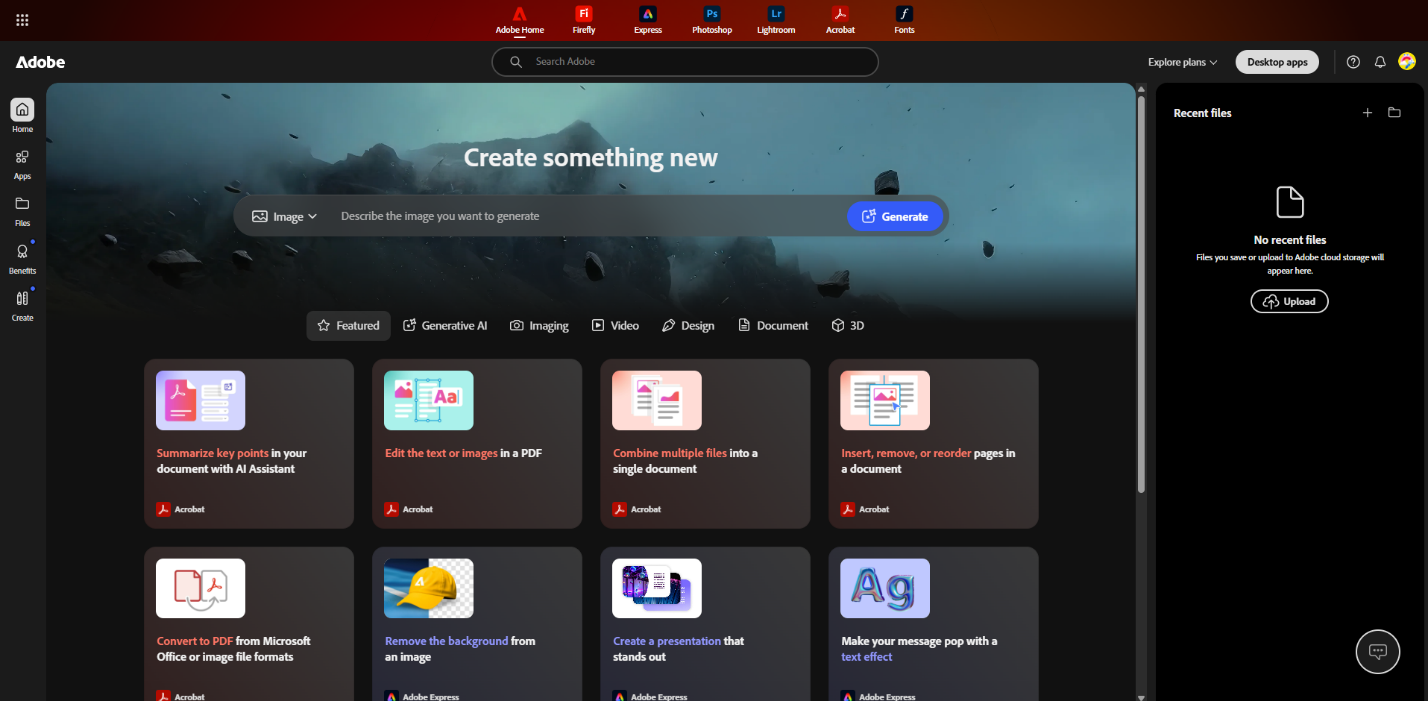
From here, you may exit the website and continue using the section below.
Signing in & Upgrading your Adobe Program to Pro:
Step 1: Start by Double Clicking on the Adobe Acrobat Icon. (Either on your Desktop or by searching it in the search bar below.)

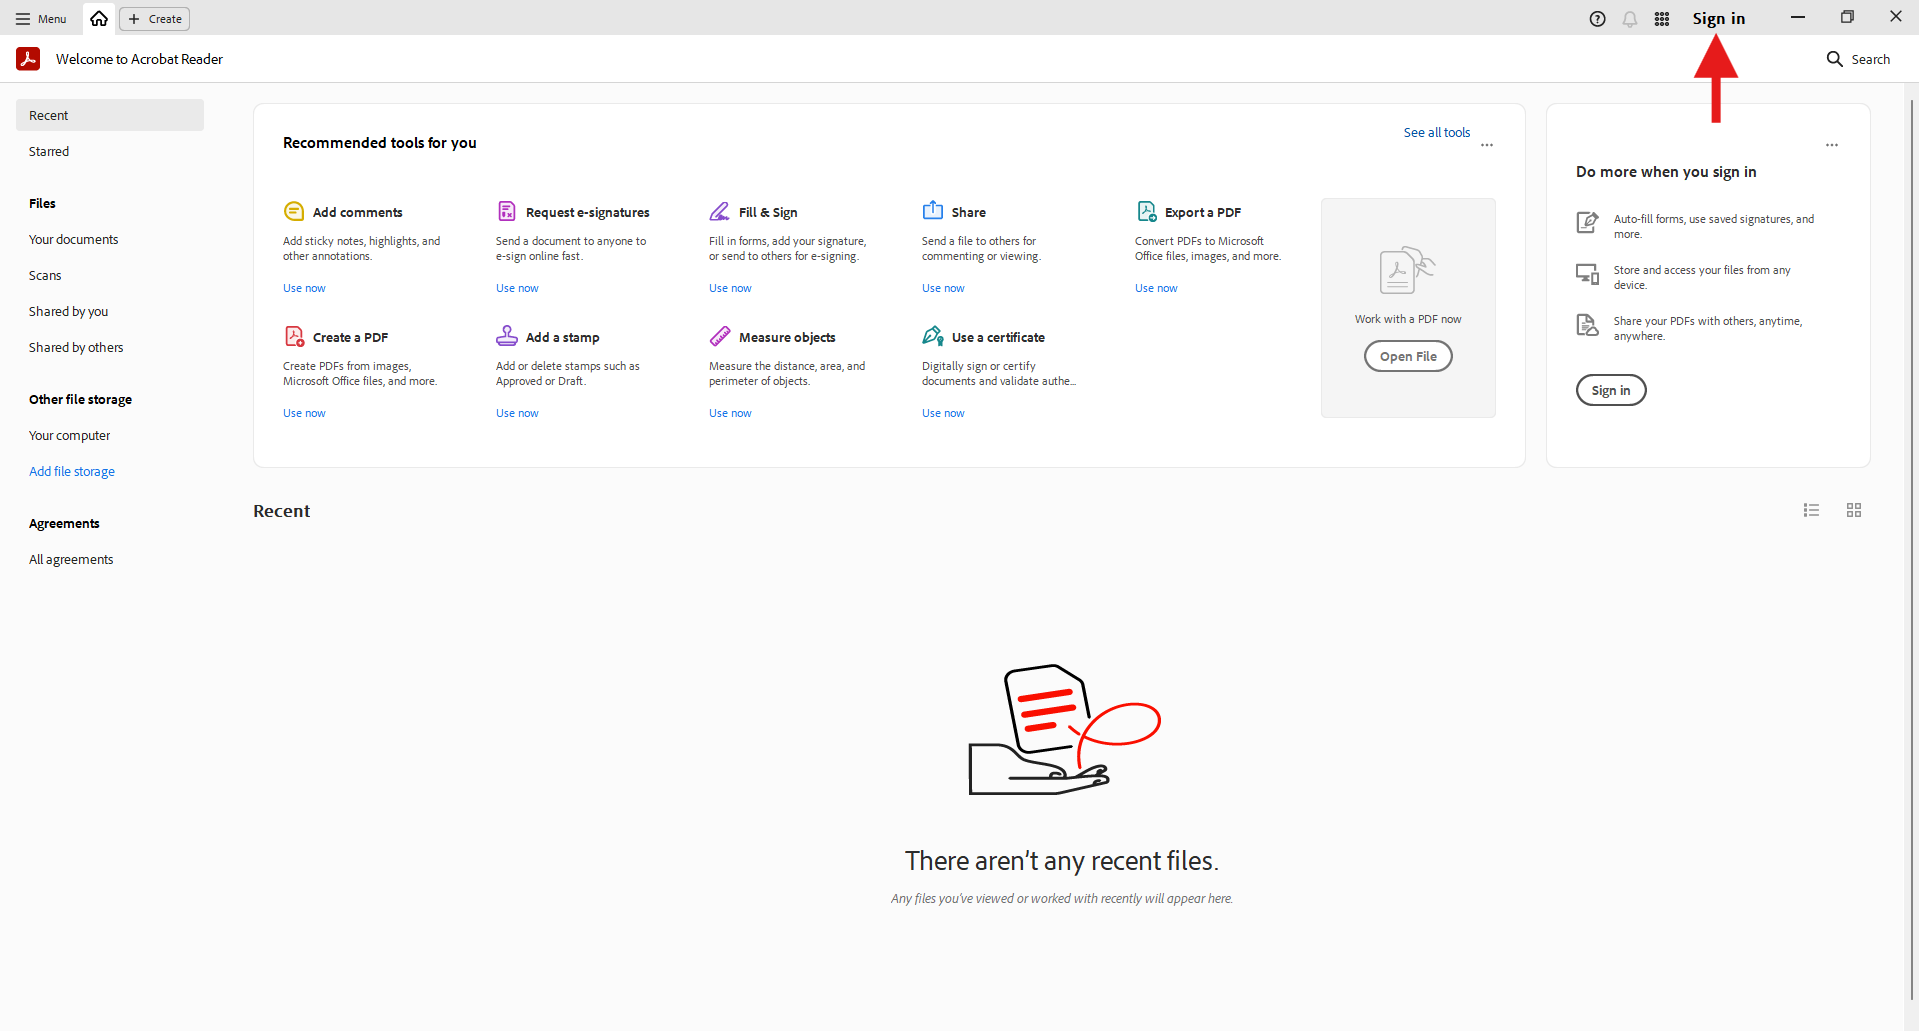
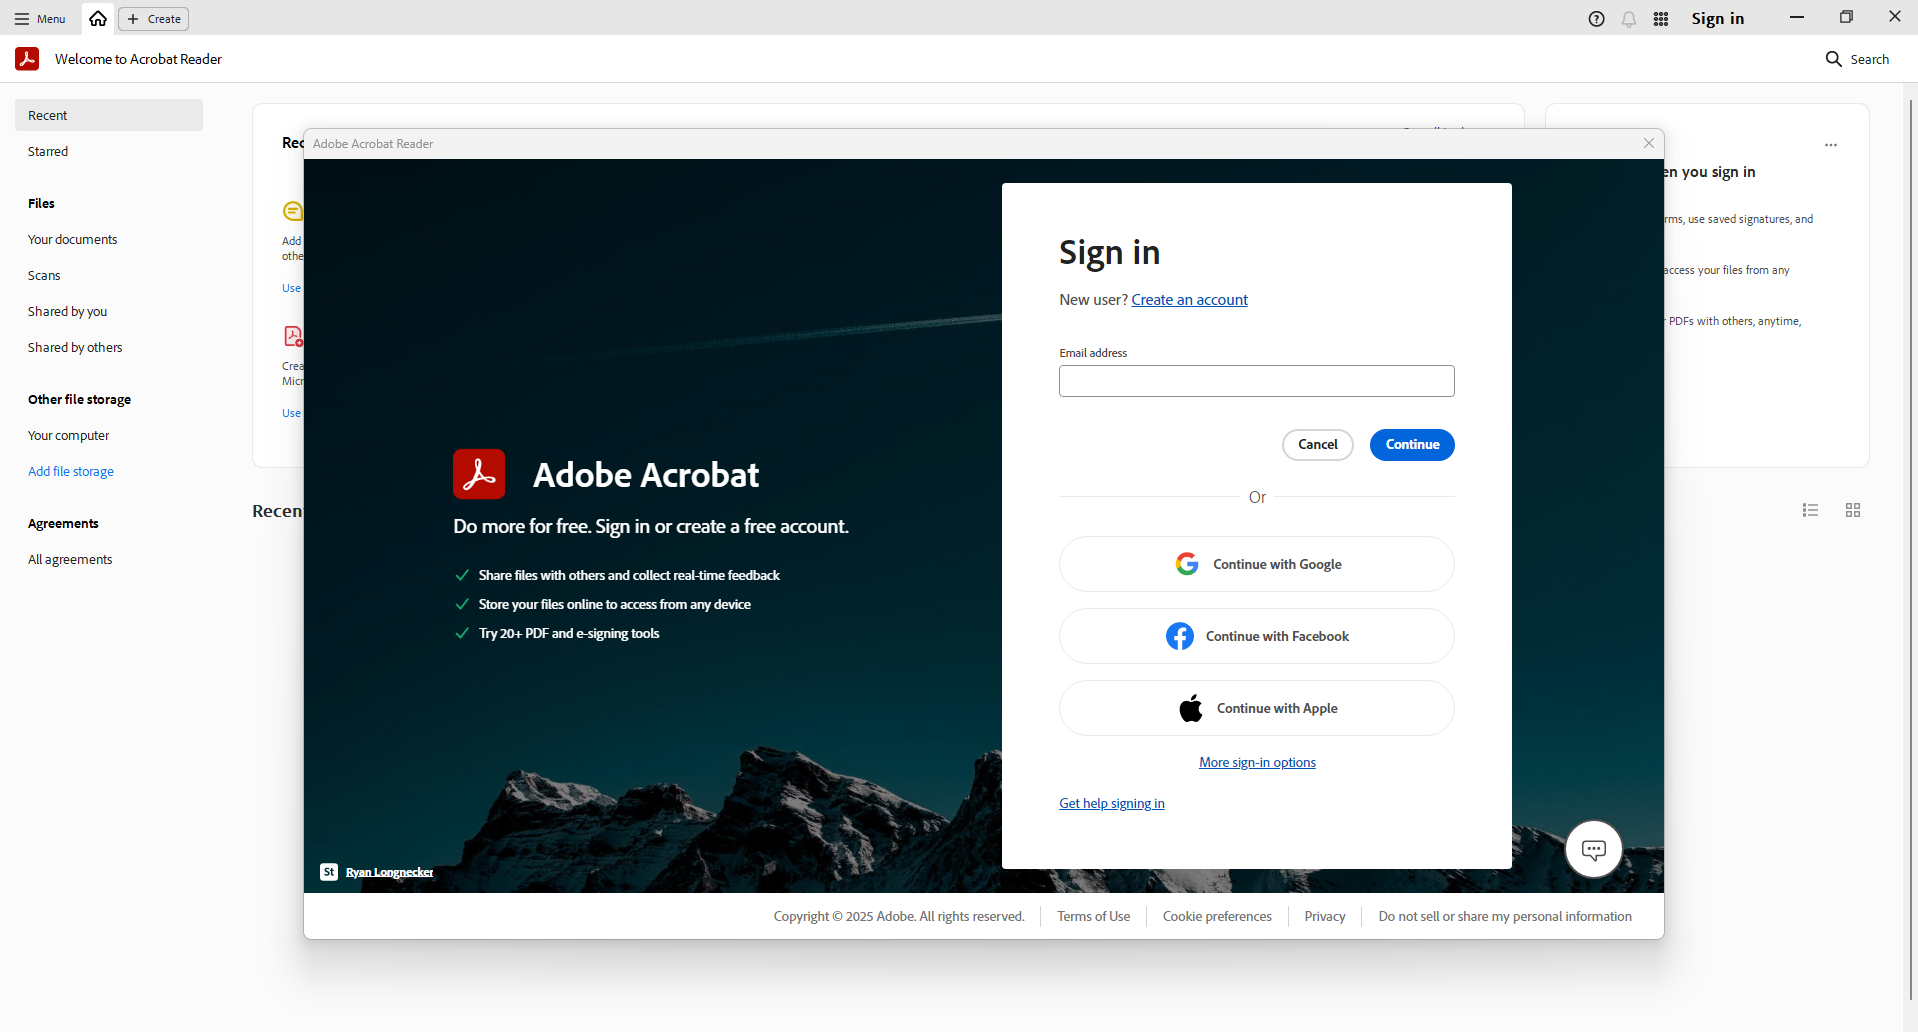
Step 2: After clicking on the application, you will be brought to the Acrobat Reader starting screen. You may have to exit out of a few prompts from Adobe asking if you want to start a free trial. You will now want to click on Sign In on the Top Right of the screen.
Step 3: A pop up will then appear asking for you to Sign In to your account, follow the prompts and then click sign in.
Step 4: After you sign in you will be brought to the image below.
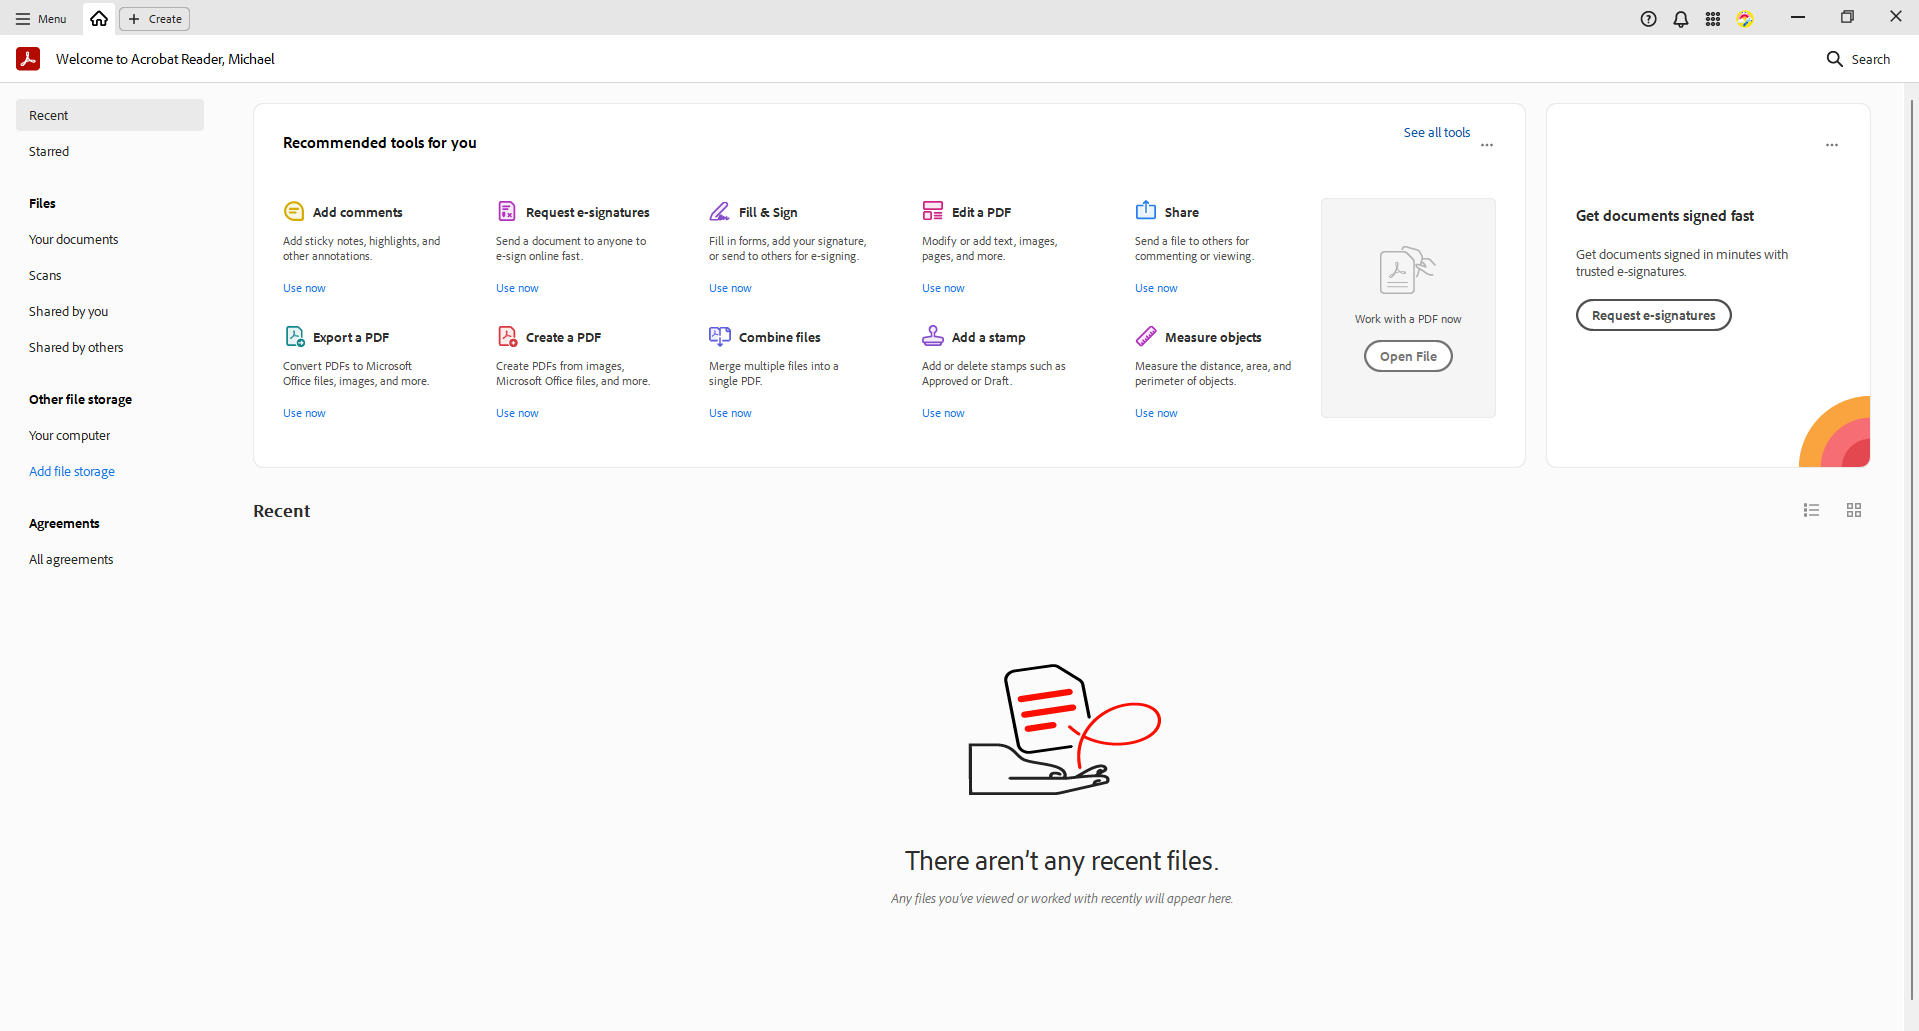
From here give it about a minute for the app to open up a prompt asking for you to upgrade your Adobe program to Pro. It will look like the following image:
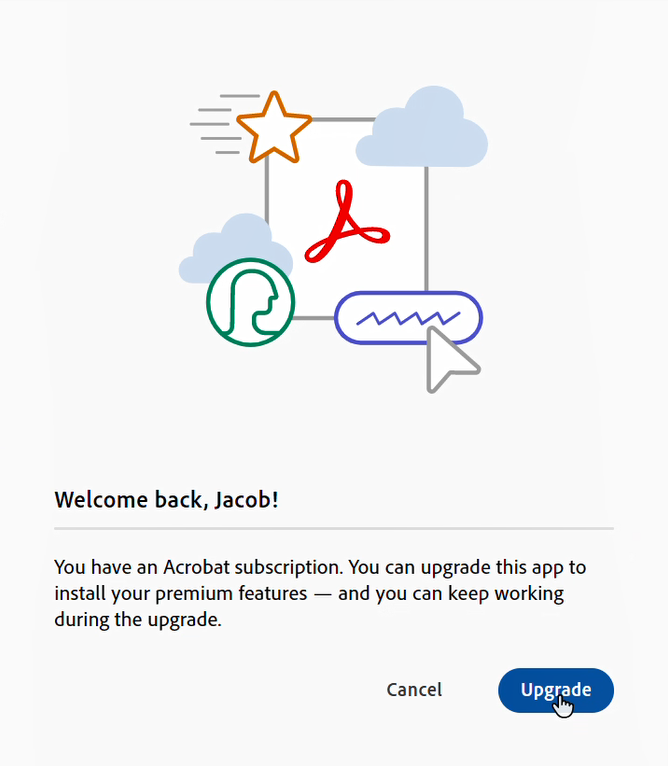
Follow the prompts to proceed with the upgrade. This process may take 5 – 10 minutes to complete and may prompt you to restart your computer when completed.
Step 5: Once the process is completed, and the computer has restarted. You are ready to use your Acrobat Pro License.

