497
497
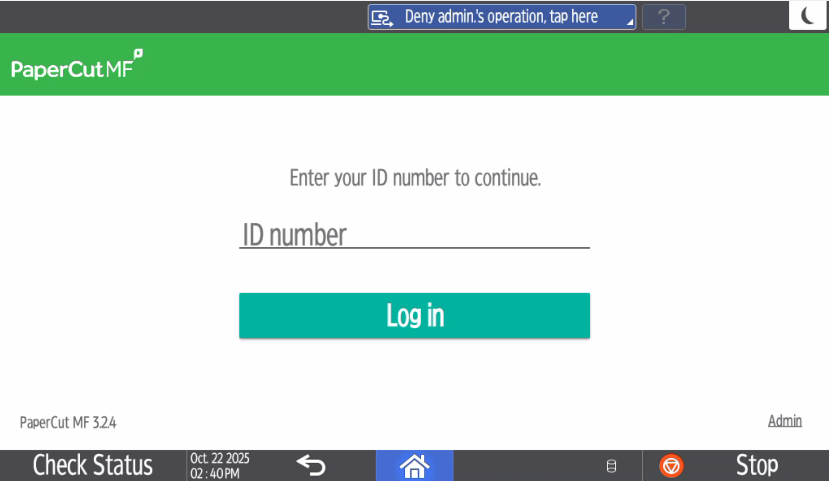
Papercut is a print-pooling technology that allows you to print to a single print queue and then pick up your print job from any Ricoh device on-campus. You can also use this system for scanning and coping documents. Please see the guide below for more information.
Printing and Scanning on PaperCut:
Printing:
|
Step 1:
Touch the ID Number section of the touch screen. A keyboard will appear; enter your College ID Number. Then tap Login. |
|
|
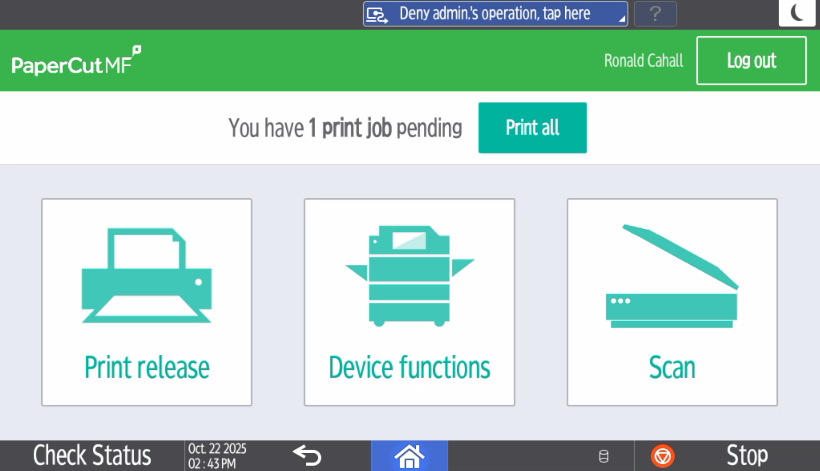
Step 2:
Tap Print All if you want to print everything you already have queued.
Tap Print Release if you want to select certain documents to print out now. |
|
|
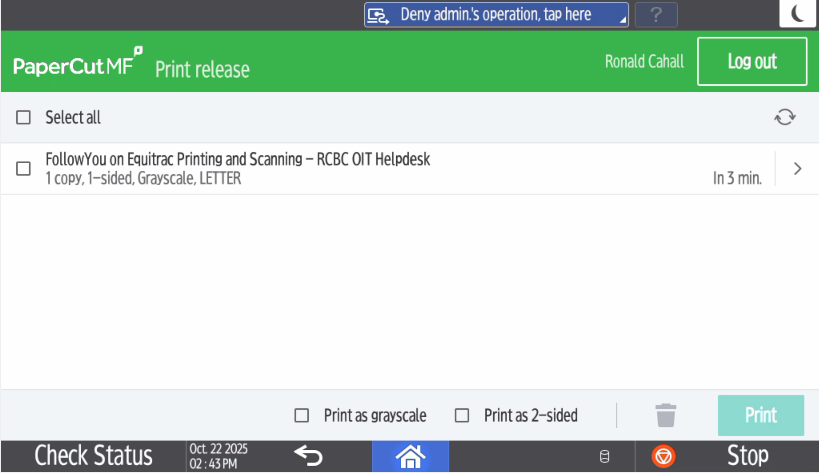
Step 3:
If you clicked Print Release, you will be taken to screen shown here. Select the files you want to print out, then Tap Log out. |
|
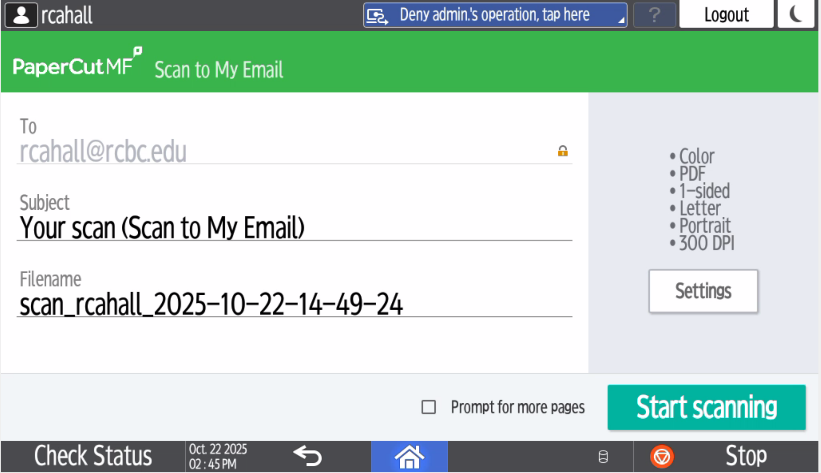
Scanning:
|
Step 1:
|
|
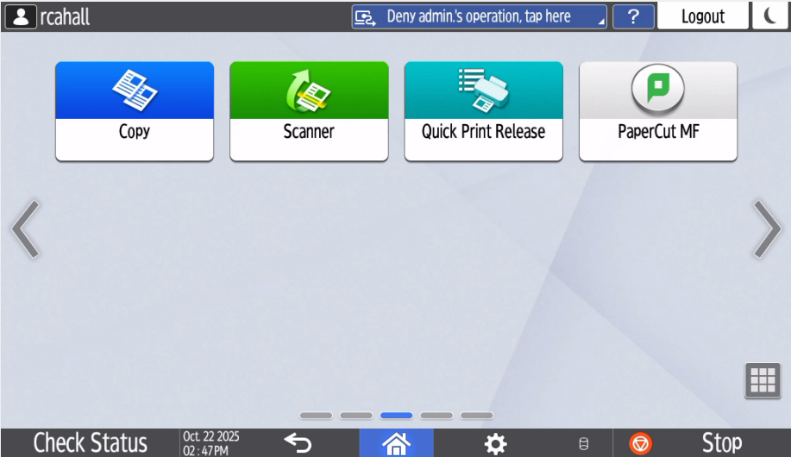
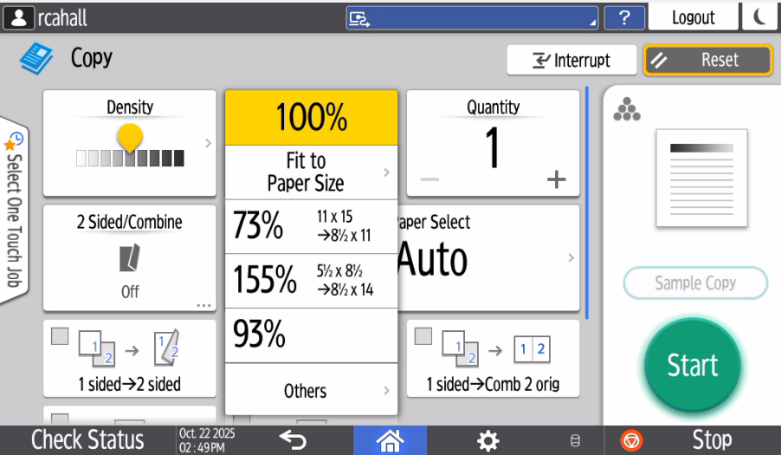
Copying:
|
Step 1:
You will want to start by clicking on the Device Functions, then Tap on Copy. |
|
|
Step 2:
|
|